Position, Size, Rotation, & Corner Radius properties
Working with Position, Size, Rotation, & Corner Radius properties
In this following tutorial, we'll learn to use Position, Size, Rotation, & Corner Radius properties in Figma.
Position
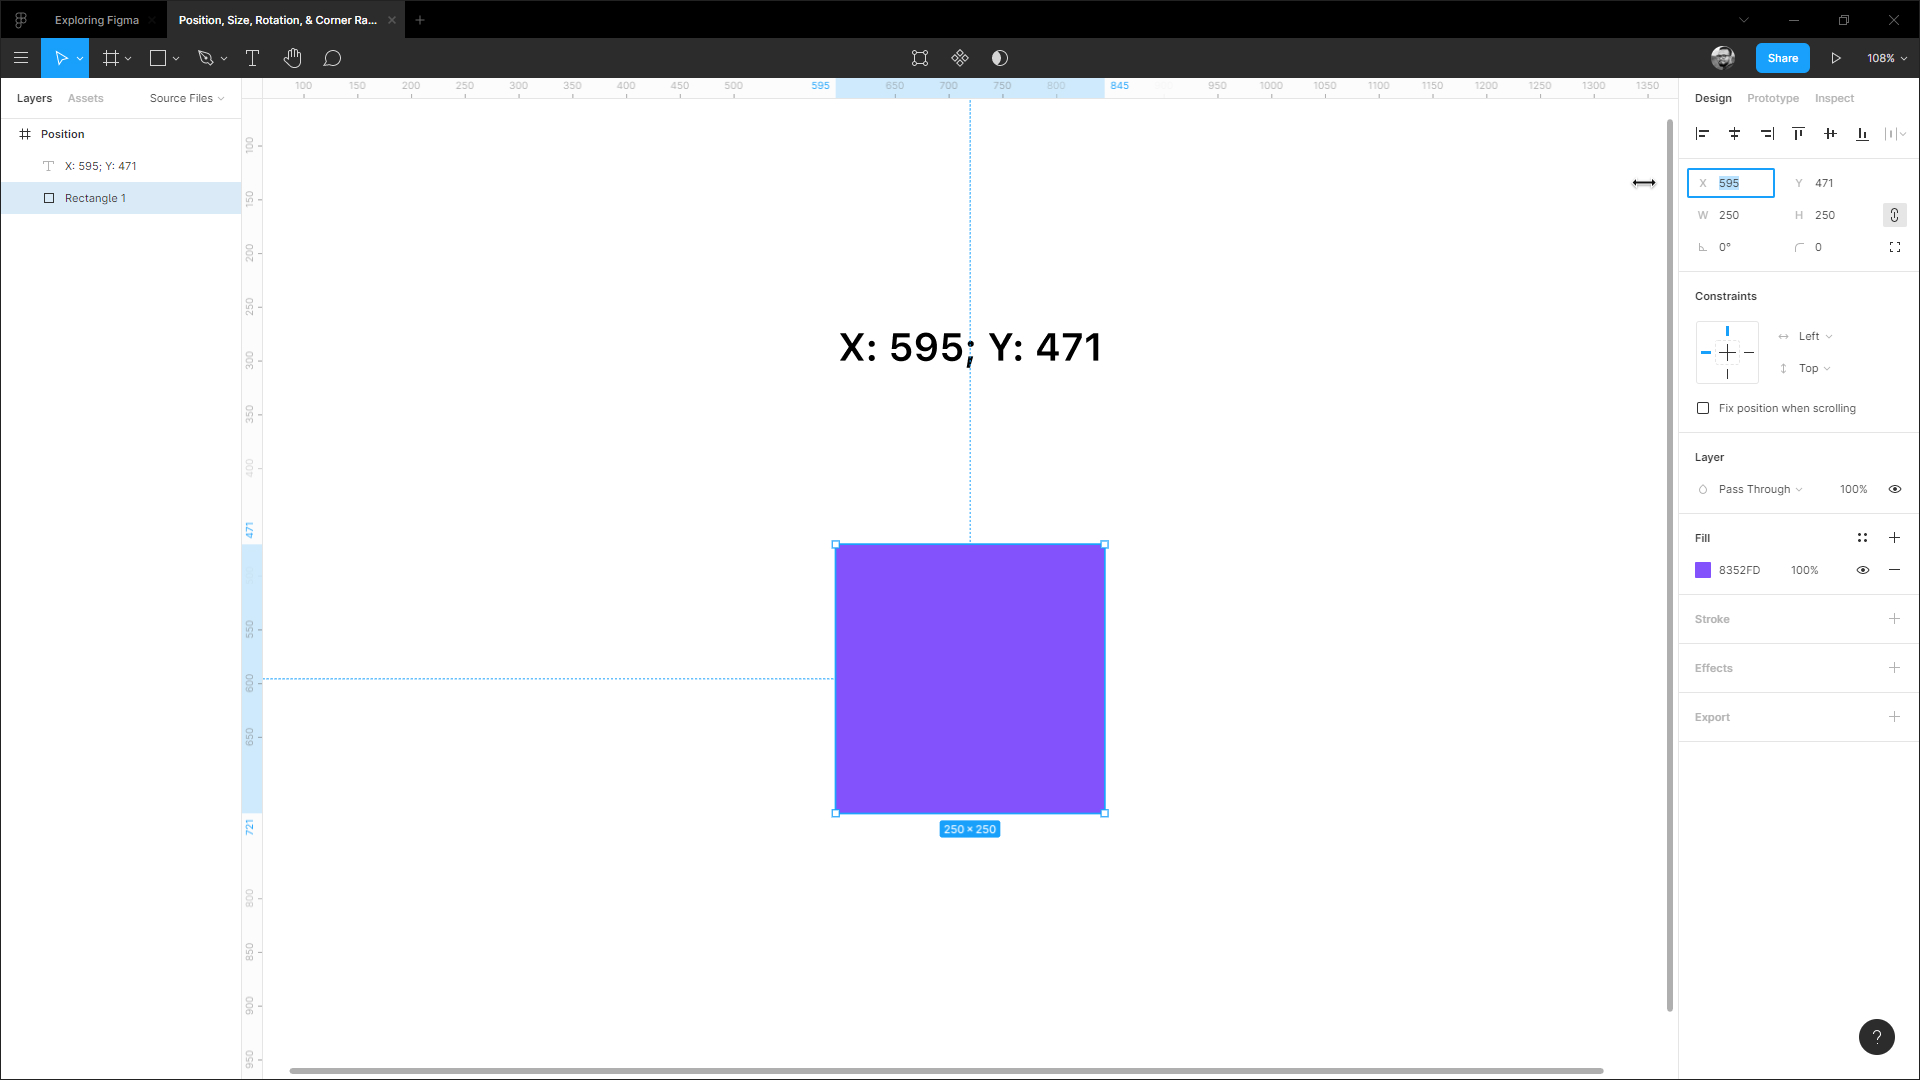
In any design project, whatever you place an element in your frame or artboard, it will fall into a position. Position properties consist of the X-axis and Y-axis. In Figma, these are located after the Alignment properties at the top-right corner of the Properties panel.
You can select and move an object to change the position it holds, or you can input X and Y values to change the position more precisely. Also, hovering over the X and Y input field, you can scrabble through the right or left to move the object to the X or Y-axis.
Let's see how scrabbling works. Press 'R' on your keyboard or select the Rectangle tool from the Tool panel, and create a rectangle on your canvas. Make sure the Move tool is selected.
- Hover over the X input field, then scrabble to the right to move the object to the right (plus X-axis) of the canvas.
- Hover over the X input field, then scrabble to the left to move the object to the left (minus X-axis) of the canvas.
- Hover over the Y input field, then scrabble to the right to move the object to the bottom (plus Y-axis) of the canvas.
- Hover over the Y input field, then scrabble to the left to move the object to the top (minus Y-axis) of the canvas.
Size
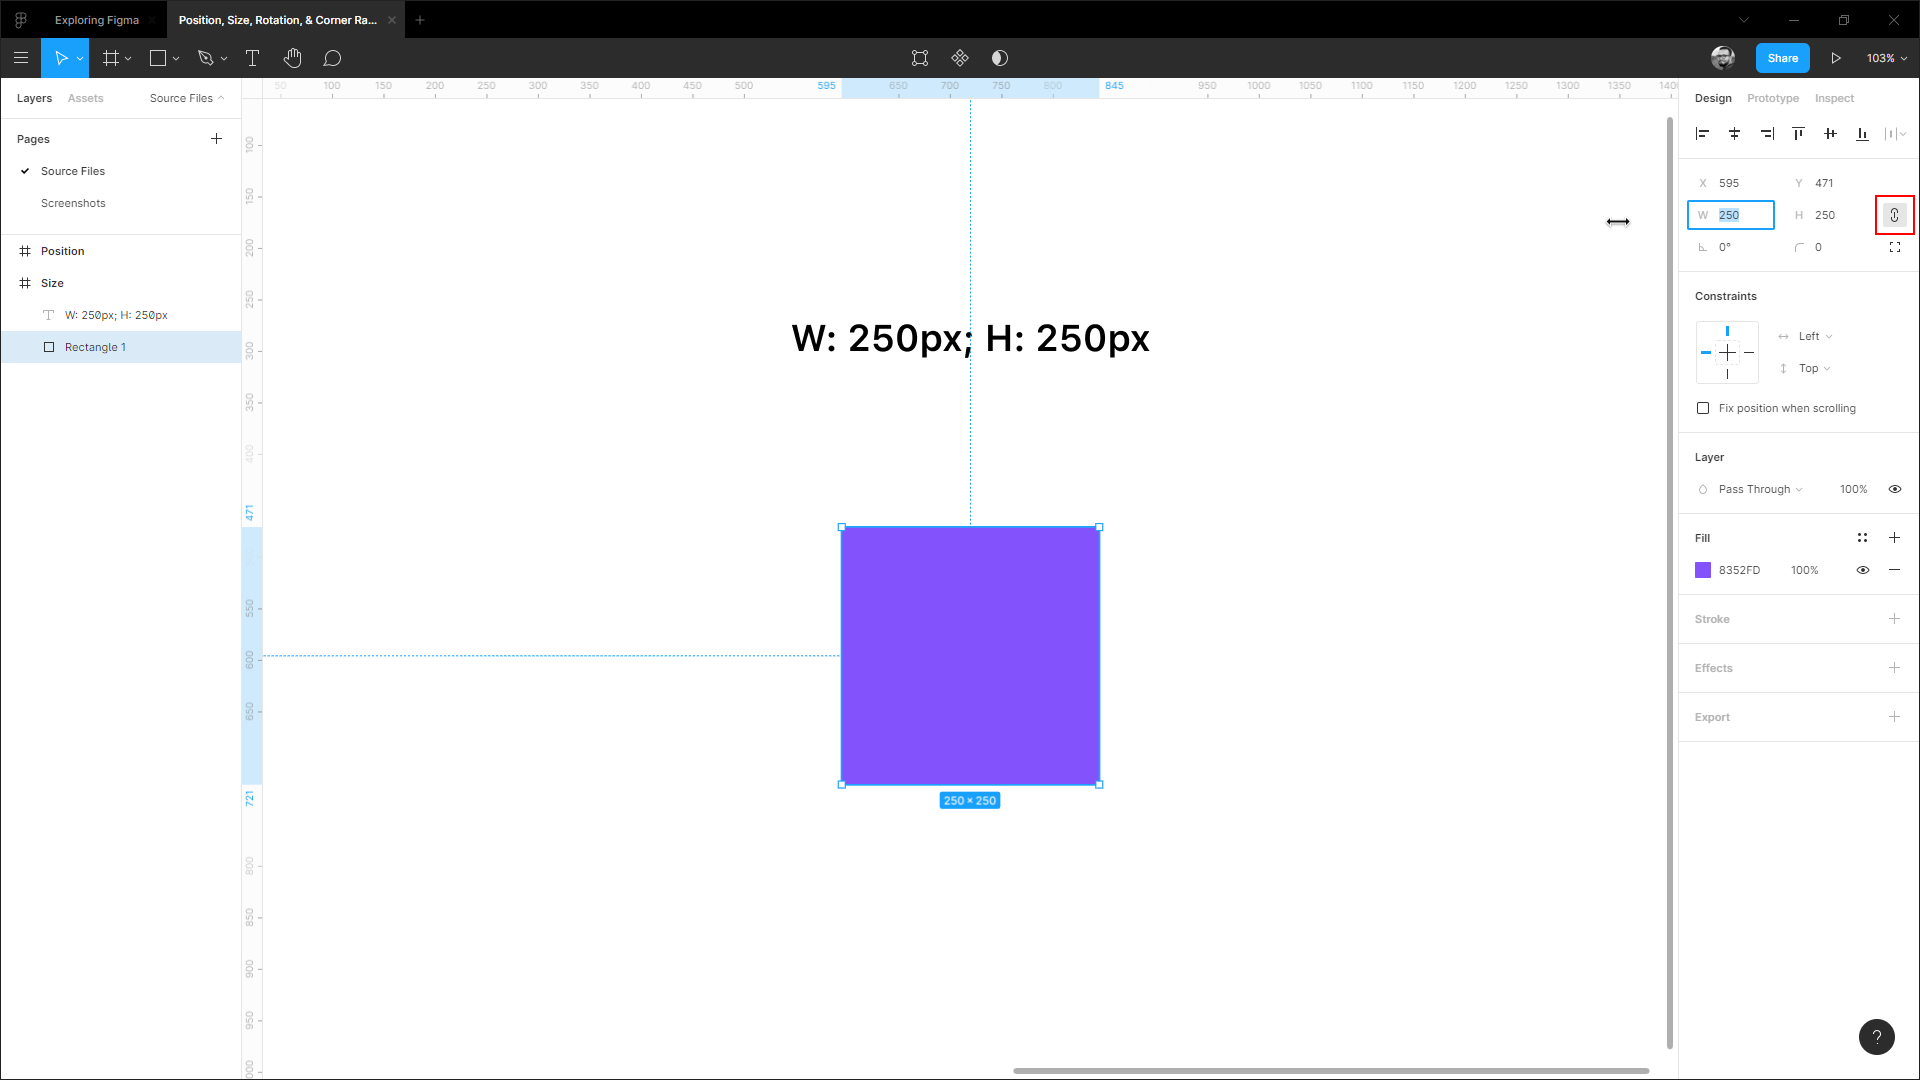
Size properties consist of Width (W) and Height (H). These are located after the Position properties at the top of the Properties panel. You can select an object and drag the corner areas to increase or decrease the size, or you can input width and height values (in Pixel) to change the size more precisely. Also, hovering over the Width (W) and Height (H) input field, you can scrabble through right or left to increase or decrease the size.
To understand it better, press 'R' on your keyboard or select the Rectangle tool from the Tool panel, and create a rectangle on your canvas. Make sure the Move tool is selected.
- Hovering over the Width (W) and Height (H) input field, and scrabbling to the right will increase the size.
- Hovering over the Width (W) and Height (H) input field, and scrabbling toh the left will decrease the size.
An important thing to note is that, if Constraint Proportions is activated when you're increasing or decreasing the size of the shape, the size will change proportionally.
Rotation
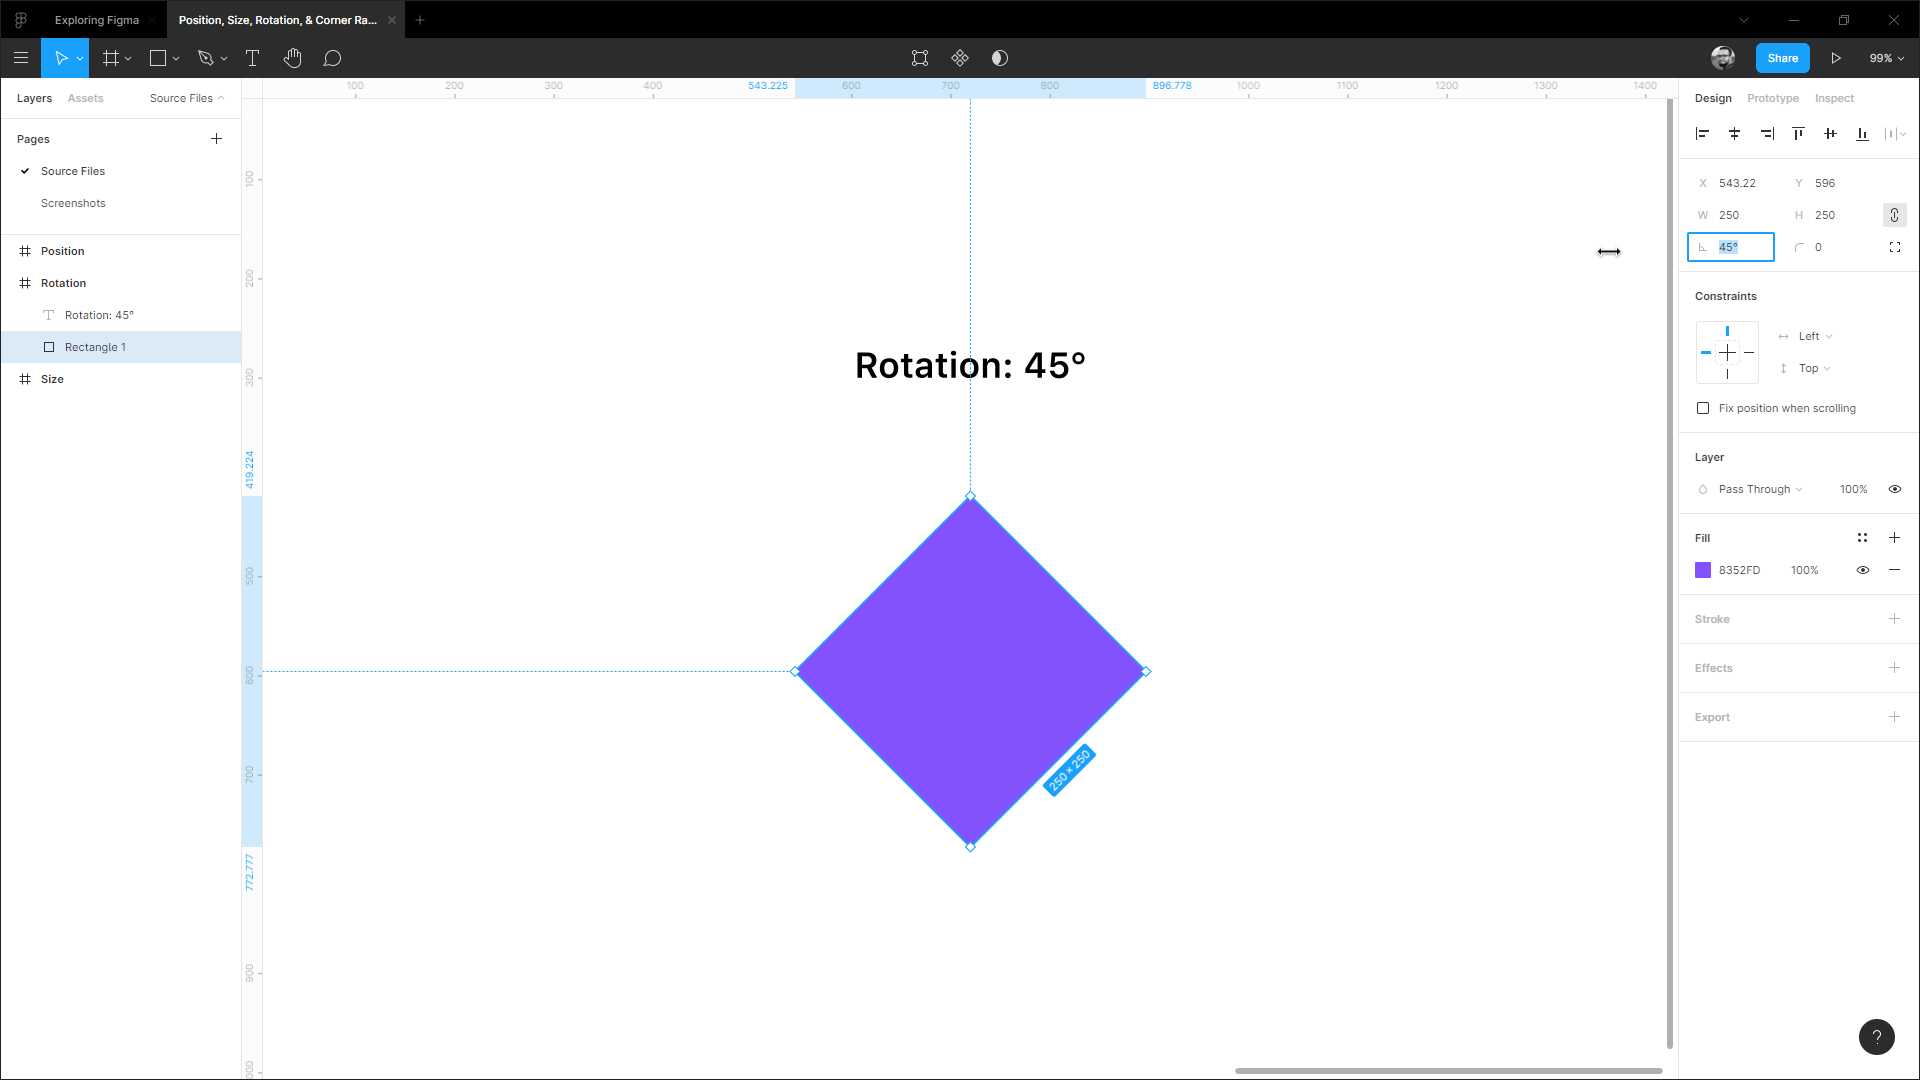
Rotation property is located after the Size (W and H) properties at the top of the Properties panel. When you place an object or create a shape on your artboard, by default the angle is set to 0°. You can change the angle at any degree you want.
After selecting an object and hovering over the corner areas you'll see the arrow to rotate the shape. Or, you can input the value (in Degrees) to change the angle more precisely. Also, hovering over the Rotation input field, you can scrabble through the right or left to rotate the shape to the positive or negative values.
Press 'R' on your keyboard, or select the Rectangle tool from the Tool panel, then create a rectangle on your canvas. Make sure the Move tool is selected. Now, let's try scrabbling.
- Hovering over the Rotation input field, and scrabbling to the right will rotate the shape to the right, and the degrees will increase to the Negative (-) values.
- Hovering over the Rotation input field, and scrabbling through the left will rotate the shape to the left, and the degrees will increase to the Positive (+) values.
Corner Radius
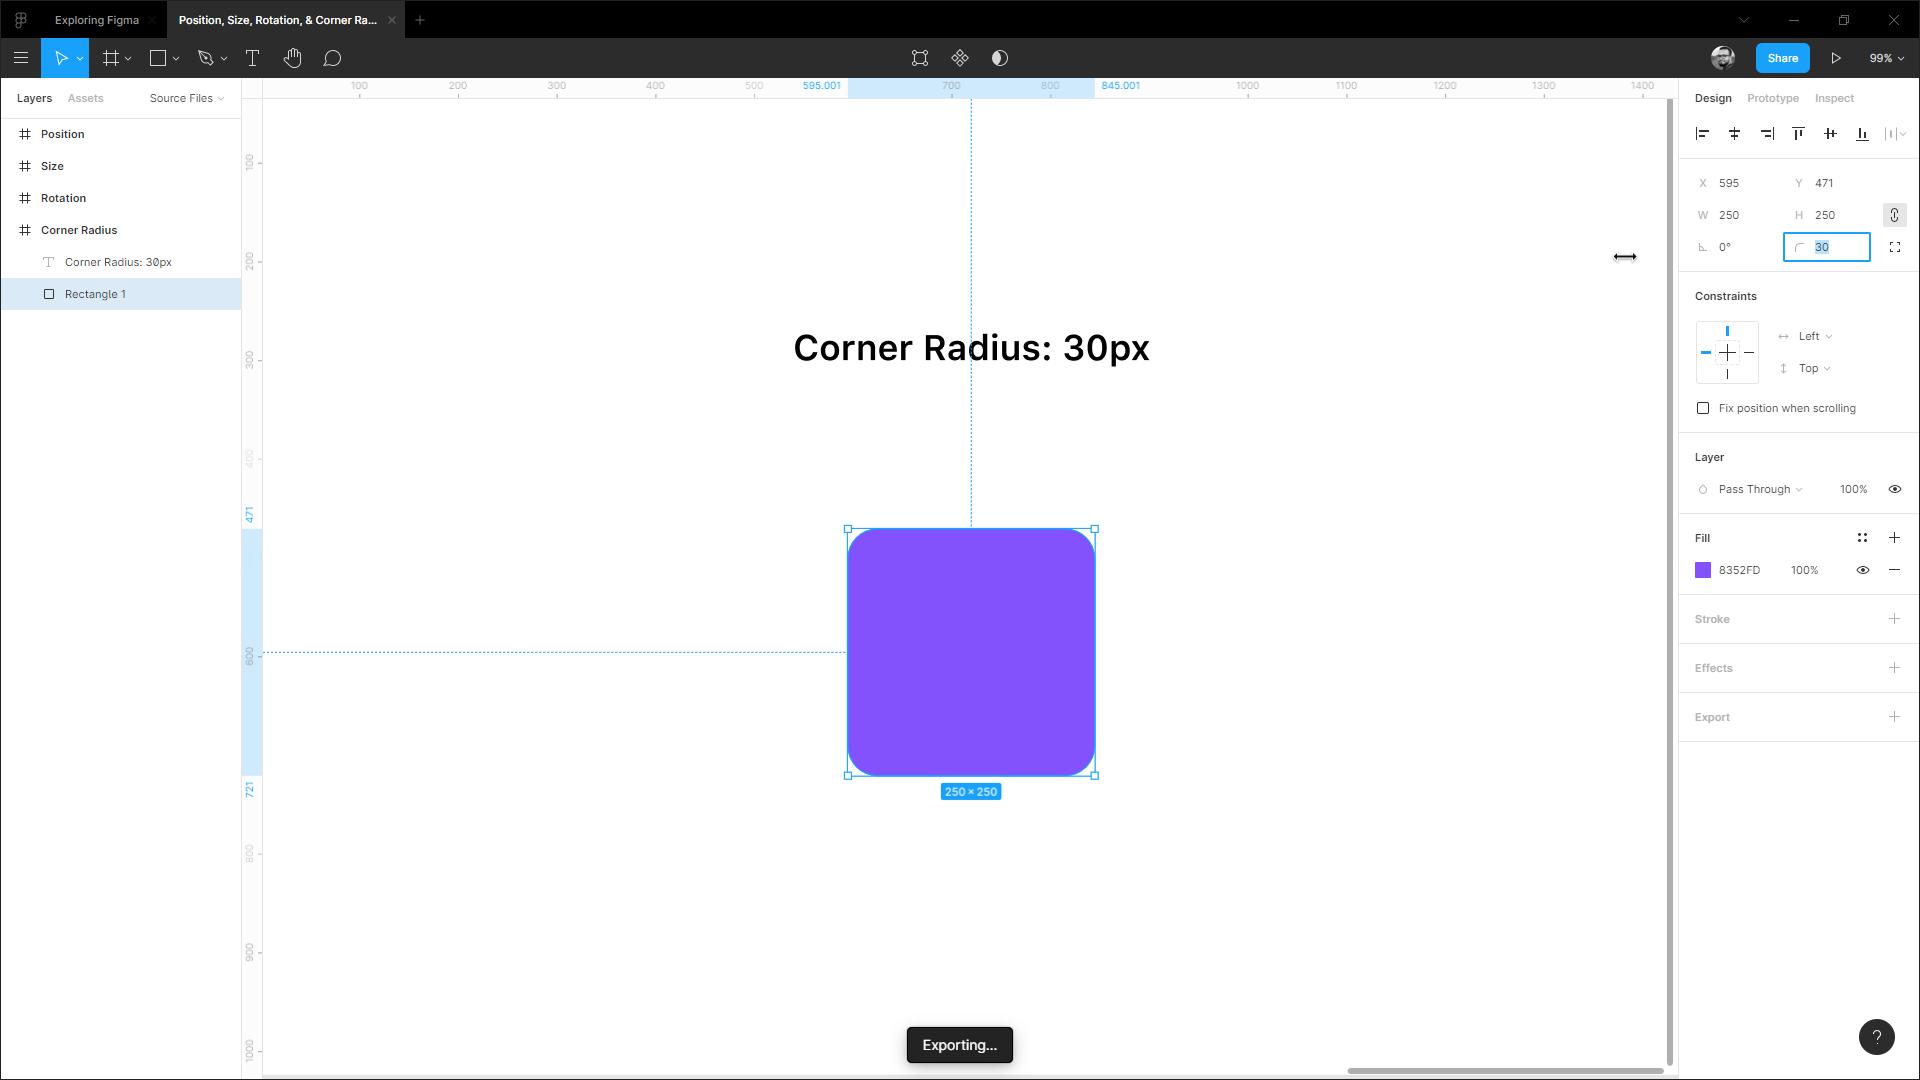
In this era of User Interface design, we see rounded corners everywhere - mobile applications, desktop applications, websites, browser input fields. You can set rounded corners by changing the radius of the corners. In Figma, the Corner Radius property is located after the Rotation property at the top of the Properties panel. The more you increase the value, the rounder the corners.
After selecting a shape and hovering over its areas you'll see circlular dots on the corners. Hover over the corners, and you'll see arrows to change the radius. You can drag to increase or decrease the radius.
Or, you can input the value (in Pixels) to change the radius more precisely. Also, hovering over the Radius input field, you can scrabble to the right or to the left to increase or decrease the corner radius of the shape.
Let's try scrabbling to change the radius. First, press 'R' on your keyboard, or select the Rectangle tool from the Tool panel to create a rectangle on your canvas. By default the Corner Radius is set to 0, which means the corners are sharp-edged. Now make sure the Move tool is selected.
- Hovering over the Corner Radius input field, and scrabbling to the right will increase the radius, and make the corners rounded.
- Hovering over the Corner Radius input field, and scrabbling to the left will decrease the radius, and make the corners sharp.
Conclusion
Whenever you'll work on any of your design projects you'll add, subtract, customize elements every minute until you get the final result. At some point, you'll understand that there's nothing called 'Final' in design. You'll always be improving your shapes, elements, styles, components, layers. To do so, you'll mostly use the most important properties in Figma including the ones we discussed above.
Original article: https://designcode.io/figma-handbook-position-properties